Last night we completed the project! First we had to attach the L-brackets to the shelves. I have to say that this was the hardest part of the project, and if I had to do it again I would attach these prior to putting the shelves together. Each L-bracket needs to be attached with two screws, and since the shelves are only 8″ tall, there’s not a lot of room to maneuver a screwdriver. We did get them all in, but it took a lot more effort than it should have.
Once that was done, we brought the shelves inside and measured where they were going to go on the wall. Our highly unscientific process was to hold one shelf up – mark the holes of the L-bracket – take the shelf down – screw in the drywall anchors – hold the shelf up again – screw in the anchor screws. Then we measured the distance from the wall and from the ceiling, so that the next shelf on the other side of the wall would be symmetrical. And repeated the process. And then we did it again, and again.
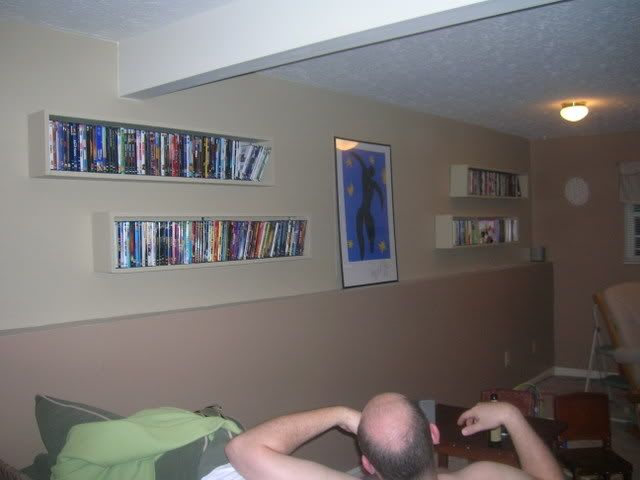
Finally, about two hours from start to finish, all four shelves were up on the wall, secure, and holding our DVDs. I’ll try to get some more pictures today that show it a little better, but here’s the one I snapped last night.
Can you believe I built those!?! And just as a reminder: to buy them pre-made would have cost me well over $400, and I would have had to wait a couple of weeks for shipping. Grand total for this project: $56 for supplies. Less than a week from purchase to installation. 6.5 hours of actual labor. I just know my Dad is going to be so proud of me! 🙂
1 thought on “Building DVD Shelves: Do-It-Yourself! #3”
Chelley they look great!